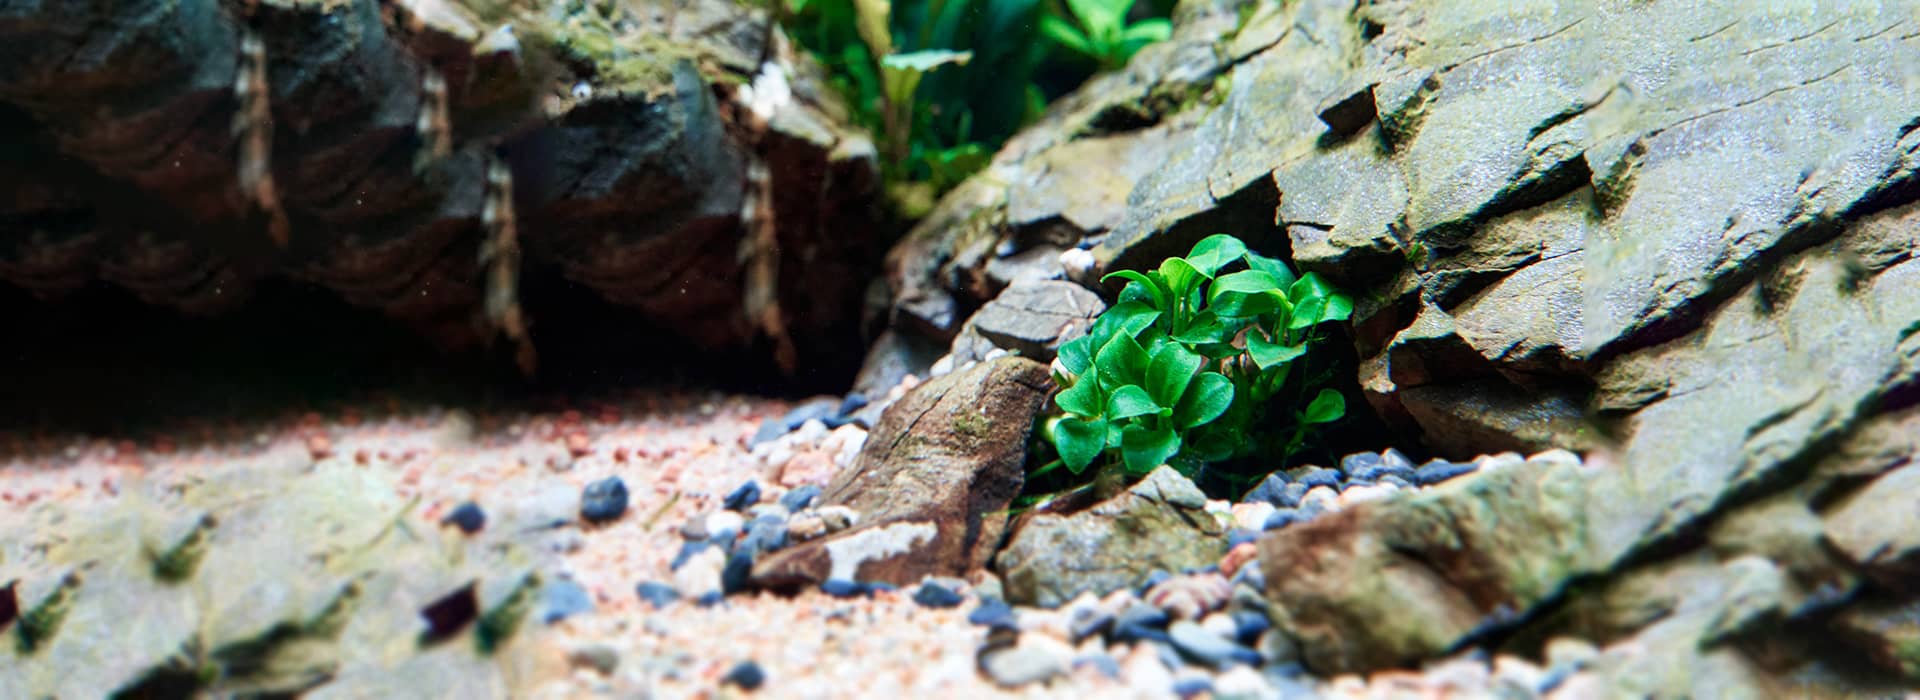
Setting up an aquarium properly is just the first step. To keep it healthy and thriving, it needs to be cared for and properly maintained. One of the crucial steps in the maintenance of an aquarium is water change. Today, we will look at why this is necessary as well as all the different ways you can do it.
Types Of Water Change In An Aquarium
There are two types of water changes you can do in an aquarium
Complete water change
This involves completely emptying the tank and refilling it with fresh water. This method is more time-consuming and should only be done if the tank is heavily contaminated or if you are starting a new tank.
Never do this in an established tank as it will destroy the ecosystem and kill off all or most of the fish within a matter of days.
Partial water change
This involves removing a portion of the water from the tank and replacing it with fresh water. This is the type of water change that is necessary to maintain a healthy aquarium and it will be the partial water change that I will be concentrating on today.
A Brief Look At The Nitrogen Cycle
Before we understand why a partial water change is needed, it is necessary to have a basic understanding of the nitrogen cycle in aquariums.
All fish and invertebrates produce nitrogen-based compounds as waste. Similarity, fish food or anything organic that is dying or decaying also produces these compounds. In a brand new tank, this nitrogen would form ammonia which is highly toxic to fish and invertebrates. Most of them would not survive in an aquarium with even a small amount of ammonia for more than a few hours.
There is no easy way of simply extracting this ammonia. This is where the nitrogen cycle comes in. It uses the help of two sets of beneficial bacteria. The first set converts the ammonia to nitrites which is still toxic but to a lesser extent. The second set converts the nitrites into nitrates which when under 20 ppm is harmless.
Starting the nitrogen cycle is an important topic in itself and I will cover it separately. For the purposes of our current discussion, just this basic understanding of the nitrogen cycle is enough.
Why A Partial Water Change Is Needed On A Regular Basis?
So, where does the water change feature in all this? With time, nitrates will start to build-up and if it reaches levels of above 50 ppm, it becomes toxic as well. The goal of the partial water change is to keep nitrates within safe limits, preferably below 20 ppm.
The basic idea behind a partial water change is to dilute the concentration of nitrates. A portion of the aquarium water is removed and replaced with fresh water that has no nitrates. Doing this regularly will keep the nitrate levels under check.
If you are an absolute beginner, then you might be wondering why not do a complete water change and get rid of all the nitrates at once? There are two good reasons for this
- Just doing a 20% to 25% water change once every two weeks will keep the nitrate levels under 20 ppm almost indefinitely. So, there is no need to put in all the extra effort to change the water completely
- More importantly, a complete water change will severely disrupt or even damage the nitrogen cycle completely which will have a dangerous effect on the tank’s inhabitants
Other Requirements For A Water Changing Method
Not all water changing methods are created equal and each have their pros and cons. Whichever method you do end up choosing, it should have the following characteristics
There should be A good source of water
This is very important. The water used to replace the old water in the aquarium should be free of any harmful chemicals. Water conditioners are readily available at fish stores that will neutralize most chemicals found in tap water such as chlorine. The source of water should also be at the same pH level as the water already in the tank.
It shouldn’t alter water temperature
The temperature of the water in the aquarium is a crucial parameter and the water changing process shouldn’t drastically increase or reduce this temperature. If the tap water is too cold or too hot, bring it to the correct temperature before adding it in the aquarium.
It should be gentle on the aquarium setup
The water changing process shouldn’t be too disruptive. This is not only stressful for the fish, but it can also uproot plants and toss the decorations around. None of this for the looks or the longevity of the aquarium.
Shouldn’t demand an unrealistic amount of effort
The method used should only drain the water in the aquarium and not your energy. If the process of changing water is too arduous, it is highly likely that you will feel demotivated to do it on a regular basis. Skipping a few water changes will be detrimental to the overall health of the aquarium.
Different Methods To Carry Out A Water Change
The goal of any method used to change water is to remove the dirty water with a high concentration of nitrates and replacing it with clean water that has no nitrates. There are many different methods ranging from the simple to the complicated. The simpler ones tend to be more labour intensive while the more complicated methods tend to be more convenient in the long run but come with a heftier price tag.
The most commonly used methods to change water in an aquarium are
- Bucket method
The bucket method is the crudest technique for changing the water in an aquarium. It should only be used as a last resort. To use the bucket method, you will need a couple of clean buckets and a water conditioner. Here is a step-by-step guide on how to use the bucket method:
- Gather your supplies such the buckets and the conditioner. One of the buckets should have a diameter smaller than the width of the aquarium. This way, it can be lowered into the tank.
- Turn off the equipment such as filters, heaters, and pumps.
- Scoop the dirty water out: Use the smaller bucket to remove about 25% of the water from the aquarium. It is important to remove the water slowly to avoid disturbing the gravel or sand on the bottom of the tank.
- Treat the new water: Fill the larger bucket with the appropriate amount of water for your aquarium. If you are using tap water, make sure to use a water conditioner to remove any chlorine or chloramines. Follow the instructions on the label for the correct dosage.
- Adjust the temperature and pH: Use a thermometer to check the temperature of the new water. The temperature should match the temperature of the water in the aquarium. If the water is too cold or too hot, you can use a heater or cooler (or ice-cold water) to adjust the temperature. Use a pH buffer to get the pH just right.
- Add the water: Slowly pour the treated water into the aquarium. Be sure to add the water slowly to avoid disturbing the gravel or sand on the bottom of the tank.
- Restart the equipment: Once you have added the new water to the tank, you can turn the equipment back on. Make sure to monitor the water quality regularly using a test kit to ensure that there are no sudden spikes in ammonia or nitrites.
This method should only be used on temporary setups. It is too disruptive and can create a lot of mess. It also requires a lot of effort and is a pretty barbaric way to change the water.
- Siphon method
The siphon method is one of the most common techniques for changing the water in an aquarium that involves using a hose or siphon to remove water from the tank and then adding treated water back into the aquarium. This method is often preferred because it allows you to easily remove debris and waste from the gravel or sand on the bottom of the tank. Here is a step-by-step guide on how to use the siphon method:
- Gather your supplies: Make sure you have a gravel vacuum or a hose, a bucket, and a water conditioner on hand.
- Turn off the equipment such as filters, heaters, and pumps.
- Siphon the water: You can use a simple hose for this but as that involves sucking the water out with your mouth to get it flowing, it is not a great idea as some of the dirty water will go in your mouth every now and then no matter how careful you are. Instead, use a gravel vacuum or siphon. Start the siphon by using the manual pump. Let the water flow into a bucket or a sink.
- Treat the new water in another bucket.
- Adjust the temperature to make sure it matches that of the aquarium
- Add the treated water
- Restart the equipment
This is the perfect option if you only have a single tank and do not want to invest a lot of money in the water changing system but still want something efficient and easy to use.
- Sink and tap method
The sink and tap method is an improvement on the siphon method. It allows you to easily refill the tank with large quantities of water and is suitable for large tanks or multiple tanks. Here is a step-by-step guide on how to use the sink and tap method:
- Gather your supplies: You will need a powerhead. An inexpensive aquarium pump will work just fine. You will also need a couple of long hoses that fit the inlet and outlet of the powerhead, a large bucket, and a water conditioner.
- Turn off all the equipment
- Pump the water out by putting the hose connected to the inlet of the powerhead into the aquarium. If the powerhead needs to be submerged, then do so in the aquarium itself.
Move the hose around the bottom of the tank to collect as much debris and detritus as possible. The other hose should be connected to the outlet, and it should drain out to a nearby sink. Once about 25% of the water is removed from the aquarium, turn off the powerhead
- Use the tap adapter to attach the other hose to the tap. If your tap water does not have any chemicals and the temperature of the water is within 2°C or 4°F of the temperature in the aquarium, use the hose to directly fill the aquarium. This will allow you to easily refill the aquarium with water from the sink. If the tap water isn’t suitable, move on to the next step. Else, skip it.
- Fill the bucket with tap water, treat it with the conditioner, and bring the water to the right temperature and pH. Using the powerhead (this time by placing the inlet in the bucket and the outlet in the tank), fill the aquarium back up.
- Restart the equipment: Once you have added the new water to the tank, you can turn the equipment back on.
This method will get you closest to an automatic water hanger. Getting the length of the hoses right and finding the right adapters to connect everything snugly without any leaks may take a bit of DIY but once you have everything setup for the first time, water changes can be done in a breeze after that.
- Automatic water changing
An automatic water changing system is a device that allows you to change the water in your aquarium automatically without having to manually siphon or drain the water. These systems typically use a pump and a hose to remove a specified amount of water from the tank and then add treated water back into the aquarium. Some of the more advanced systems also have a built-in water conditioner to remove chlorine and chloramines from the new water.
To use an automatic water changing system, you will need to follow these steps:
- Install the system: Follow the manufacturer’s instructions to install the system in your aquarium. This typically involves connecting the pump and hose to the system and placing the system in the tank.
- Program the system: Most automatic water changing systems have a control panel that allows you to set the frequency and amount of water that is to be changed. Follow the manufacturer’s instructions to set up the system to your desired specifications.
- Add a water conditioner: If your system does not have a built-in water conditioner, you will need to add a water conditioner to the new water to remove chlorine and chloramines. Installing a large container with a tap in which treated water can be stored will keep the system automatic. Ideally, invest a little more in a system that comes with an in-built conditioner.
- Monitor the system: It is important to monitor the system regularly to ensure that it is working properly. Check the water quality regularly using a test kit.
These systems tend to be pricey but if you have a busy lifestyle then such a system will allow you to still enjoy the hobby without it feeling like a burden.
Is The Python Water Changing System Any Good?
The Python Water Changing System has gained a lot of notoriety in recent terms. It advertises a lot of cool features.
That piqued my interest, and I was eager to check it out. It had mixed reviews which made me a bit reluctant at first. However, some aquarists swear by it and find it to be a convenient and effective way to change the water in their aquariums. So, I gave it a try, and this is my honest opinion.
- It doesn’t work as advertised. It doesn’t form a tight seal around the tap and this is true for all the common types of faucets. This leads to a lot of water wastage
- The pump felt a little underpowered
- There is no way to condition, or temperature regulate the water that goes into the tank. If your tap supplies the perfect aquarium water, this won’t be a problem but that is almost never the case in real life. In my case, the tap supplies water that is too hot for an aquarium and there is no provision to cool it down in the Python system
- It is just too pricey and a DIY sink and tap system would do a much better job at a fraction of the cost
How I Fixed The Python Water Changing System
Since I paid for the Python Water Changing system, I did not want to just throw it away. The intentions behind this product are good and with a few modifications, I got it to work well for all my six tanks. I basically modified into the aforementioned sink and tap system.
- Instead of directly connecting to the tap, I fill up a bucket at the sink. This eliminates the need for a tight seat around the tap. No water is wasted and I can condition the water
- I can also regulate the temperature and pH of the water much more accurately
- I then added a small fish pond pump to this bucket and connected the filter tubing that came with the pump to its outlet. I then joined the intake hose of the Python system with this filter tubing. I had to do a bit of DIY to make this connection (a little bit of heat helped)
- I connected the rest of the system as specified
- This system works perfectly as the water can be changed much quicker without any wastage and the water that goes into the aquarium is perfectly conditioned and at the exact temperature it needs to be
Which Method Is Right For You?
If you only have a single tank then the siphon method or sink and tap method is perfect for you. An automatic water changer while being far more convenient might be overkill for a single aquarium unless it is very large.
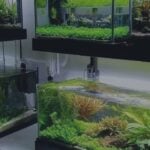
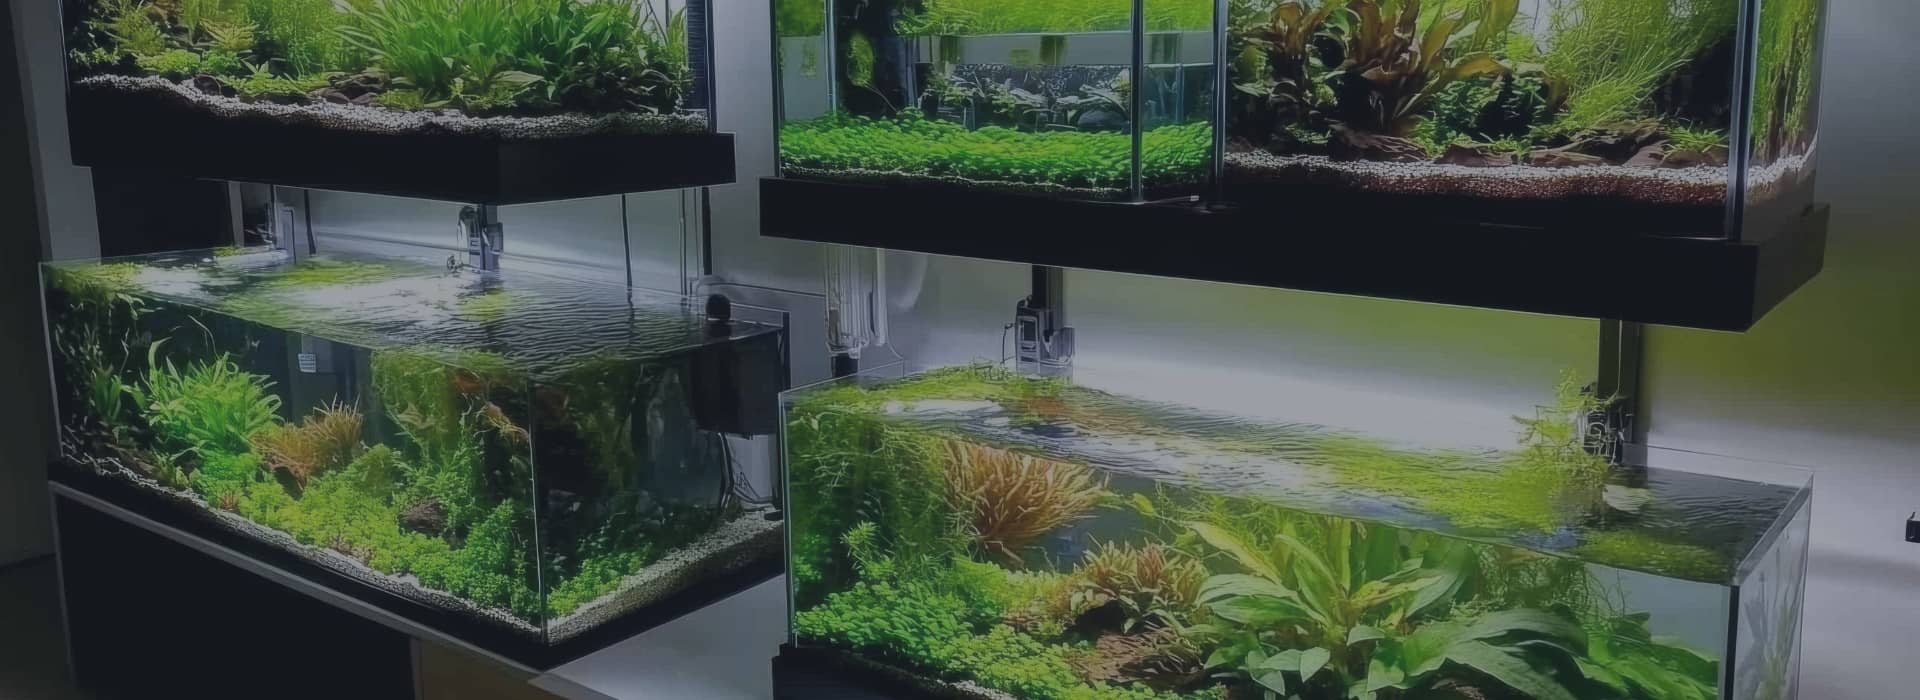
Multiple aquariums or a single massive aquarium necessitate the use of an automatic water changer. Your final decision should be decided by your budget and the amount of effort you are willing to expend.
How Often Should You Change Water In An Aquarium?
The frequency of water changes in an aquarium depends on several factors, including the size of the aquarium, the number and size of the fish, and the type of filtration system being used. In general, it is recommended to perform partial water changes of about 20-30% of the total volume of the aquarium once every 10 to 14 days. However, the actual frequency of water changes may vary depending on the specific needs of the aquarium.
Here are some of the factors that decide the frequency of the water change
- Bio-load – many fish or fish that produce a lot of waste necessitate more frequent water changes
- Plant density – if the aquarium is densely planted with live green plants and the fish do not produce copious amounts of waste, the aquarium will need less frequent water changes
- Size of the aquarium – larger aquariums will need fewer water changes every month while it is the opposite for smaller tanks
FAQ
How to start nitrogen cycle in aquarium
Clean the tank, add the water, and connect all the equipment and start them. Add some fish food and/or some aquarium bacteria starting mixture
How to speed up the nitrogen cycle in an aquarium
Kickstart the process by using a bacteria starter kit usually available at most fish stores. Also add some used filter media and substrate from a tank that is already cycled. Make sure that this donor tank is free of any diseases or infections
What is aquarium nitrogen cycle
It is a natural process that converts harmful ammonia produced due to waste generated in an aquarium into nitrites which then gets converted into the relatively harmless nitrates
How does the nitrogen cycle work in an aquarium
Beneficial bacteria convert harmful nitrogen-based compounds such as ammonia and nitrites into relatively harmless nitrates which can be kept under check with a partial water change.
How to start nitrogen cycle in saltwater aquarium
The process is the same as it is in a freshwater aquarium
How long does the nitrogen cycle take in a marine aquarium
As little as a week if pre-used filter media is used. Without any seeding, it can take close to a month
What removes nitrates from water?
A partial water change will do the trick
How often should i replace aquarium water during nitrogen cycle
During the cycling process, the water should be changed once the ammonia and nitrite levels have maxed out
Will aquarium salt kill your nitrogen cycle
No
Do aquarium plants need a nitrogen cycle
They will do just fine in an uncycled tank
Does the nitrogen cycle in a freshwater aquarium continue if power goes out?
A good majority of the beneficial bacteria live on the filter media. In case of a power failure, the filter media can dry out killing these bacteria. An aquarium can survive for a couple of hours of no power but anything beyond that will cause a lot of damage to the nitrogen cycle
Do plants help the nitrogen cycle for aquarium?
Plants can help speed up the nitrogen cycle
Can driftwood moved from an established aquarium provide its bacteria for nitrogen cycle?
They will and it is one of the recommended methods to kickstart the nitrogen cycle
Conclusion
Changing the water in an aquarium is often looked upon as an inconvenience. However, understanding its importance and the various methods available to you will not only make it seem like less of a pain, but it can also be an interesting facet of the hobby. Take into consideration the size of your tank, the number of tanks, your budget, and the level of effort you are willing to put in and choose a method that offers the best compromise in all these areas. Irrespective of the method you choose, make sure to never delay a water change as the consequences can be dire.